Installing DMON
From dmon
Licensing[edit | edit source]
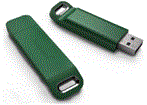
DMON is supplied with a dongle like those pictured here, or with a software evaluation license. The dongle contains the license information for the software. Licenses on a dongle may be permanent, for a fixed time period, or for a fixed number of executions. Evaluation licenses can be upgraded to permanent licenses after purchase of the product without requiring a new dongle. Dongle drivers are usually required to be installed once on the PC running DMON. The install program is located in <DMON-Install-Folder>\etc\HASP Older PCs running XP may require Microsoft IIS (Internet Information Services) to be installed. Installation instructions for software evaluation licenses are provided with the DMON evaluation pack.
Installing DMON[edit | edit source]
On Windows run the installation program DMON-<version>-Setup.exe and follow the on-screen instructions. On Linux copy the installer DMON-<version>-Linux-x86-install to the system and change its permissions to executable with chmod. Run the installer and follow the on-screen instructions. If no on screen instructions appear, see section 2.2.1
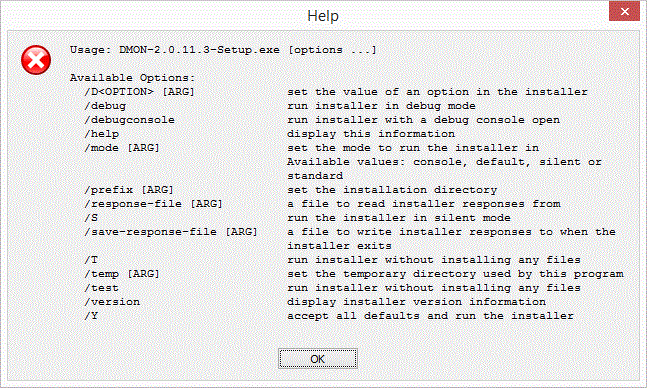
Note that it is possible to pass parameters to the installer and run it on the command line, /help on Windows or –help on Linux lists the options.
Whether you use the installer in command line mode or GUI mode, there are only a couple of configurable elements to the installation process; firstly the path to the installation, and secondly the on the final page in which you can choose to create shortcuts for the installed program.
Linux: additional Libraries required on 64 bit systems[edit | edit source]
The DMON installer and DMON itself are 32 bit applications. DMON is a Java application which is shipped with its own run time environment. On a 64 bit system, some 32 bit libraries are required to be able to run the installer and to run DMON. The release notes contain details for various Linux Distributions as to how to install the required libraries. In particular, the installer requires the X libraries, and if no console appears it is likely that these libraries are missing. Some components of DMON require the Gtk+ libraries at run time; if the libraries are missing an error will be reported.
License drivers on Linux[edit | edit source]
The <DMON-Install-Folder>/etc/HASP directory contains the drivers needed to handle the license dongle. If this is the first time DMON has been installed the appropriate drivers must be installed. Extract the files in the archive for your Linux distribution and install according to the ReadMe. This will require root privileges.
Adding DMON to the path[edit | edit source]
On both Windows and Linux, the installer will add DMON to the user’s path. In Linux this is done by modifying the “.profile” file. This is normally read when a new terminal is opened, but depending on how the user’s shell is configured, it may be necessary to log out and back in for the path to be updated.
Removing DMON[edit | edit source]
The DMON installer creates an uninstall program to assist with removal of the product once you no longer have need for it. The uninstaller is accessible from the Add/Remove programs section in Windows Control Panel. Additionally, the installer can be invoked directly from the file system. If you navigate to the installation folder, you will find a program “uninstall” which you can double-click to run. You can also run this program from a command line. The uninstaller program will remove all program files originally installed. If you have any log files or other files that DMON uninstaller does not recognise, then the DMON uninstaller will leave those files on the file system at the end of the process. Note that DMON must be installed in an empty directory, and it may therefore be necessary to uninstall an older version of DMON before installing a later version.


